How to take construction progress pics that hold up
.svg)
Quick Summary
Construction progress pics are photos taken at set intervals from the same positions and pinned to a spot on the drawing. Photos taken that way hold up in a pay application, an RFI or a claim, and the areas worth the effort are the ones about to be covered up. This post covers why the record holds, which areas to shoot first and the methods teams use.
Progress photography works best as a routine. A crew walks the same route, flies the same boundary and shoots the same corners on a set day each week. Doing it the same way every time is what makes the photos usable later.
However, you find out whether a progress pic was worth taking months after you take it.
That is when someone asks what was behind the wall, whether the deck was poured to the drawing or how much dirt moved. A photo shot from the same spot each week and pinned to the plan answers that in about a minute.
DroneDeploy keeps aerial maps, 360 walks and phone photos on one floor plan, sorted by date. Below is why those photos hold up, which areas to shoot first and how teams capture them.
.jpg)
Why construction progress pics hold up
A progress pic makes one small claim. It shows one place on one date, and that is a hard thing to argue with.
In a pay application it either backs the percentage a sub is billing or it does not. An RFI responder sees the condition instead of reading a description of it. And a claim can rely on a date and a location instead of who remembers what.
Everyone sees the same photo too. Owners, designers and trade partners open the same image with the same timestamp, so a coordination call has less to argue about.
The areas to shoot first
People go back to the areas they can no longer see.
If something is about to be covered, shoot it first.
- Existing conditions at mobilization. Fly one aerial baseline before equipment arrives. It becomes the reference for later questions about grades, drainage or damage that was already there.
- Earthworks and grades. Grading changes a site faster than any other phase, so weekly flights make sense here. Volumes get billed against those numbers.
- Underground utilities before backfill. Shoot trenches, sleeve locations and tie-ins while the excavator is still parked next to them.
- Pre-pour rebar, embeds and sleeves. Whatever you capture before the pour is the only record of what went into the deck.
- In-wall and above-ceiling. Framing, blocking, rough-ins and fire-rated assemblies are visible for a few days and get looked up for years.
- Facade and roof layers. Shoot envelope work layer by layer, including the elevations nobody wants to put a lift against.
"We thought we lost a conduit – we used 360 photos to find it without tearing anything out." – Josh Stewart, Senior Superintendent, Layton Construction
Finishes and closeout are worth shooting too, for a different reason. That record goes to the owner and gets opened long after the crew leaves, usually by a facilities team hunting for something above a ceiling tile.
Learn how to capture site photos on the ground in DroneDeploy:
How teams capture construction progress pics
Most projects use four methods, and which one you reach for depends on the area.
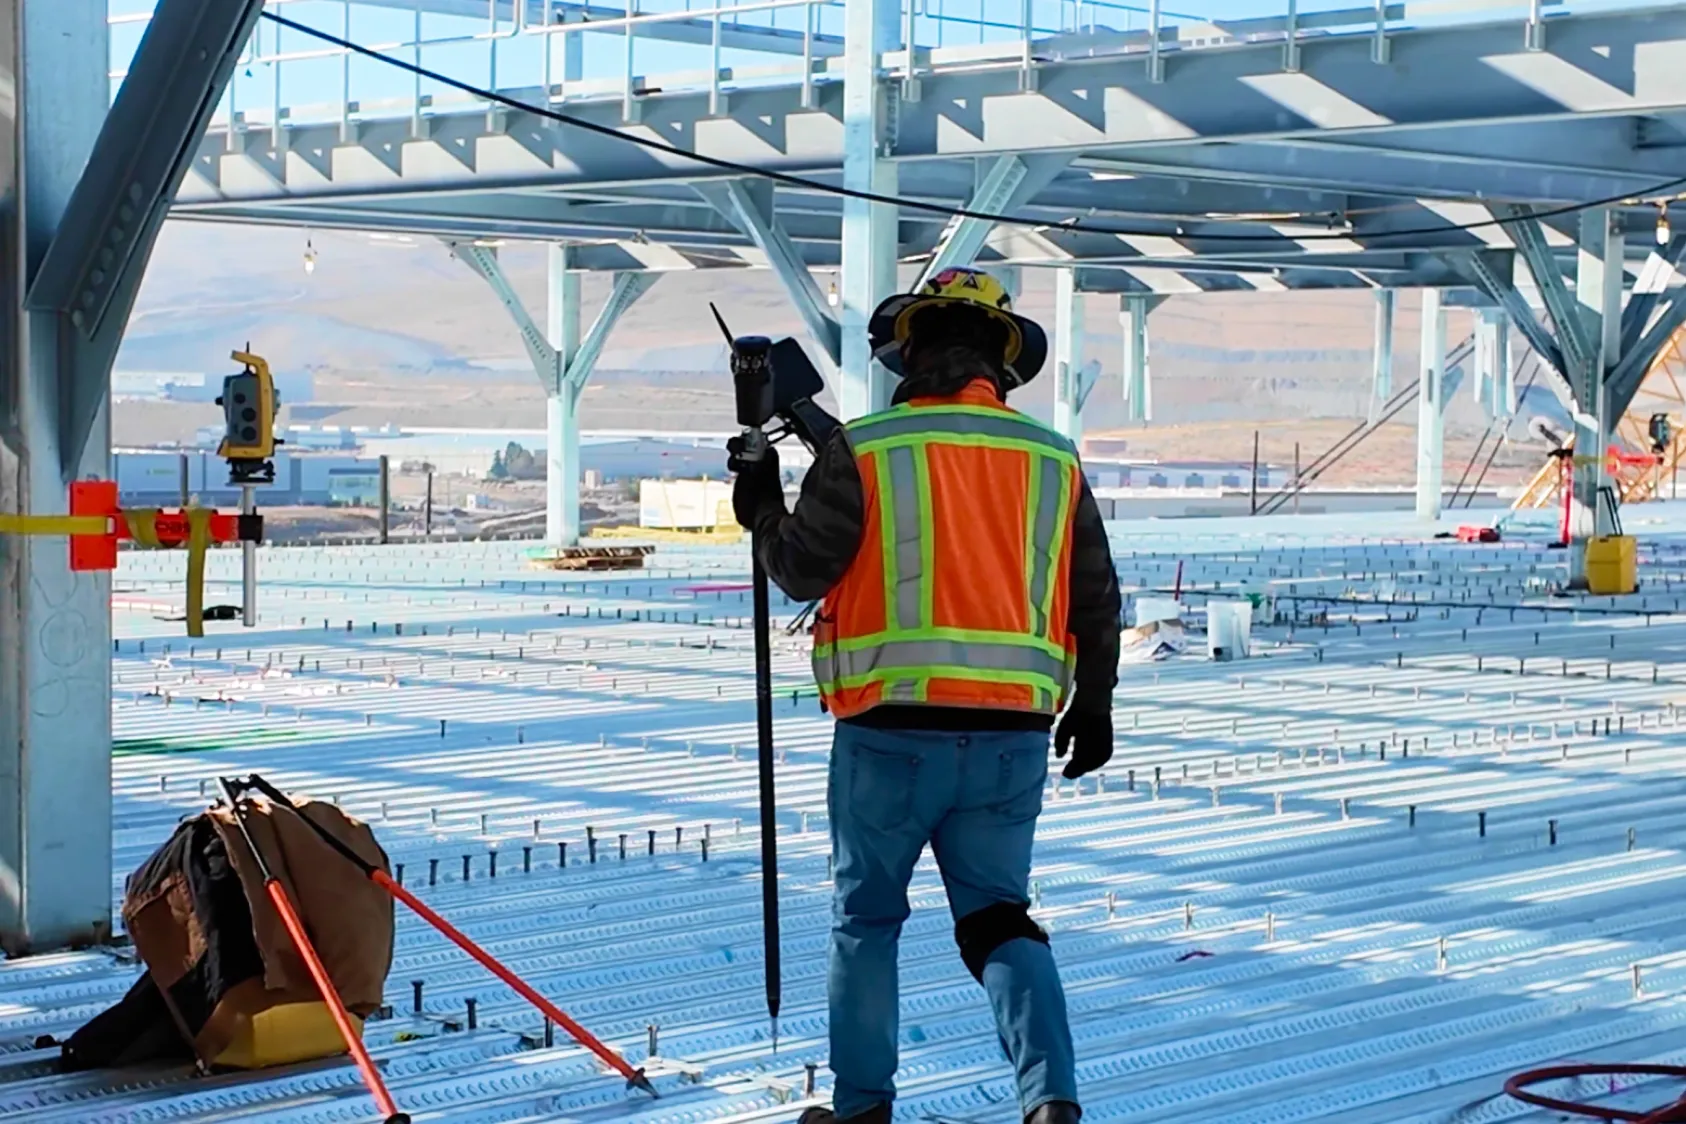
- Drone flights cover the whole site in one pass. Earthworks, laydown, roofs and facades all read better from the air than from a lift, and aerial capture gives you measurements along with the photos.
- Docked drones keep the schedule when the crew is stretched thin. Automated flights run on their own, so weekly stays weekly for the length of the job.
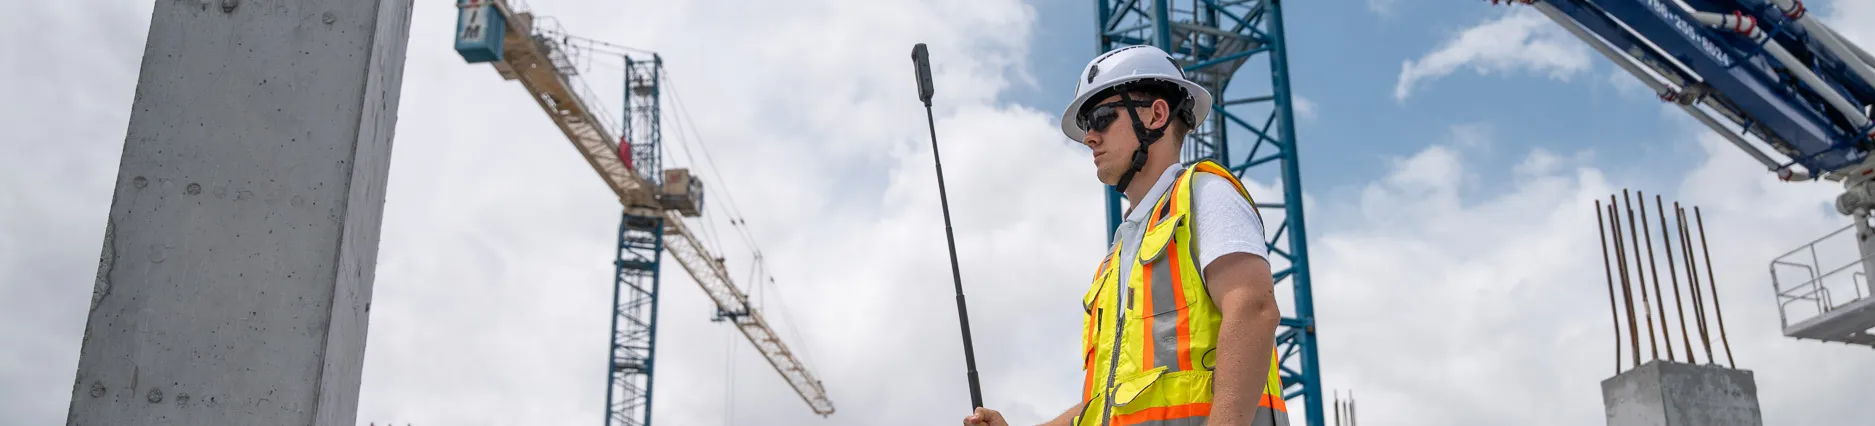
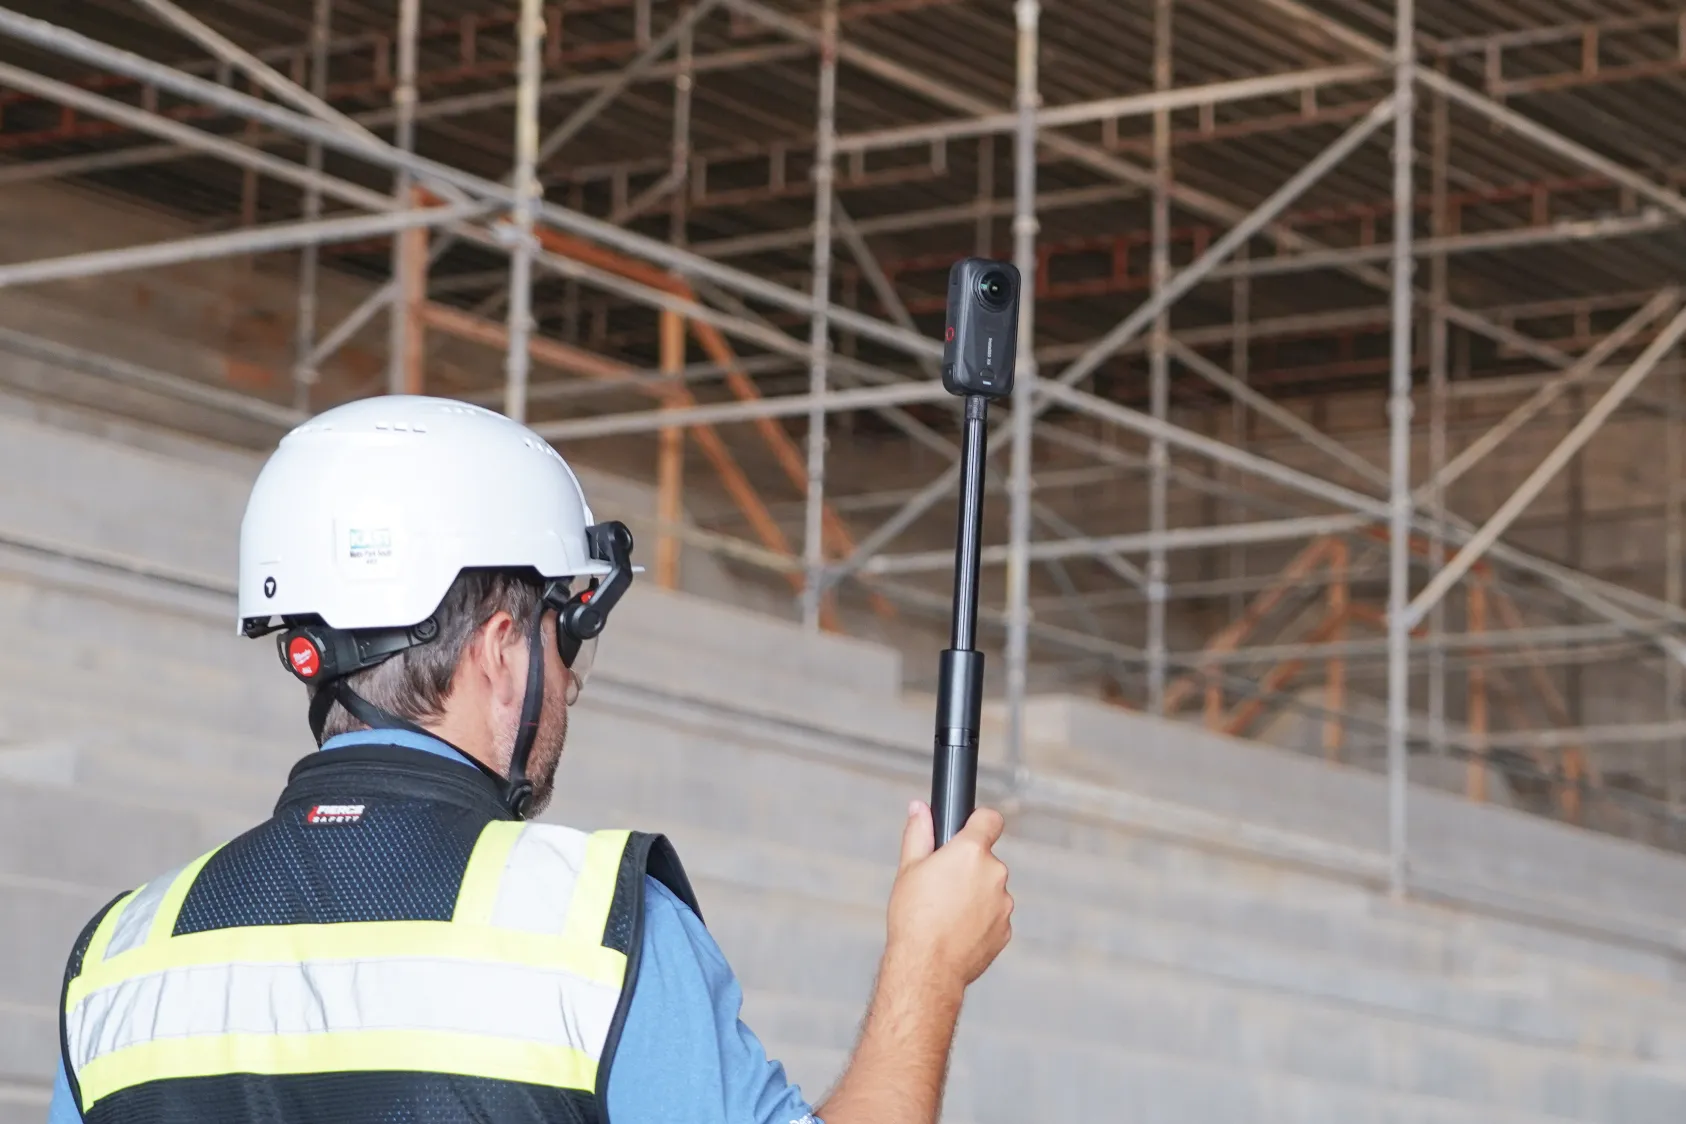
- 360 walks handle interiors. One pass down a corridor catches every direction at once, including the corner nobody thought to shoot, which is why most teams run walks instead of handheld photos through buildout.
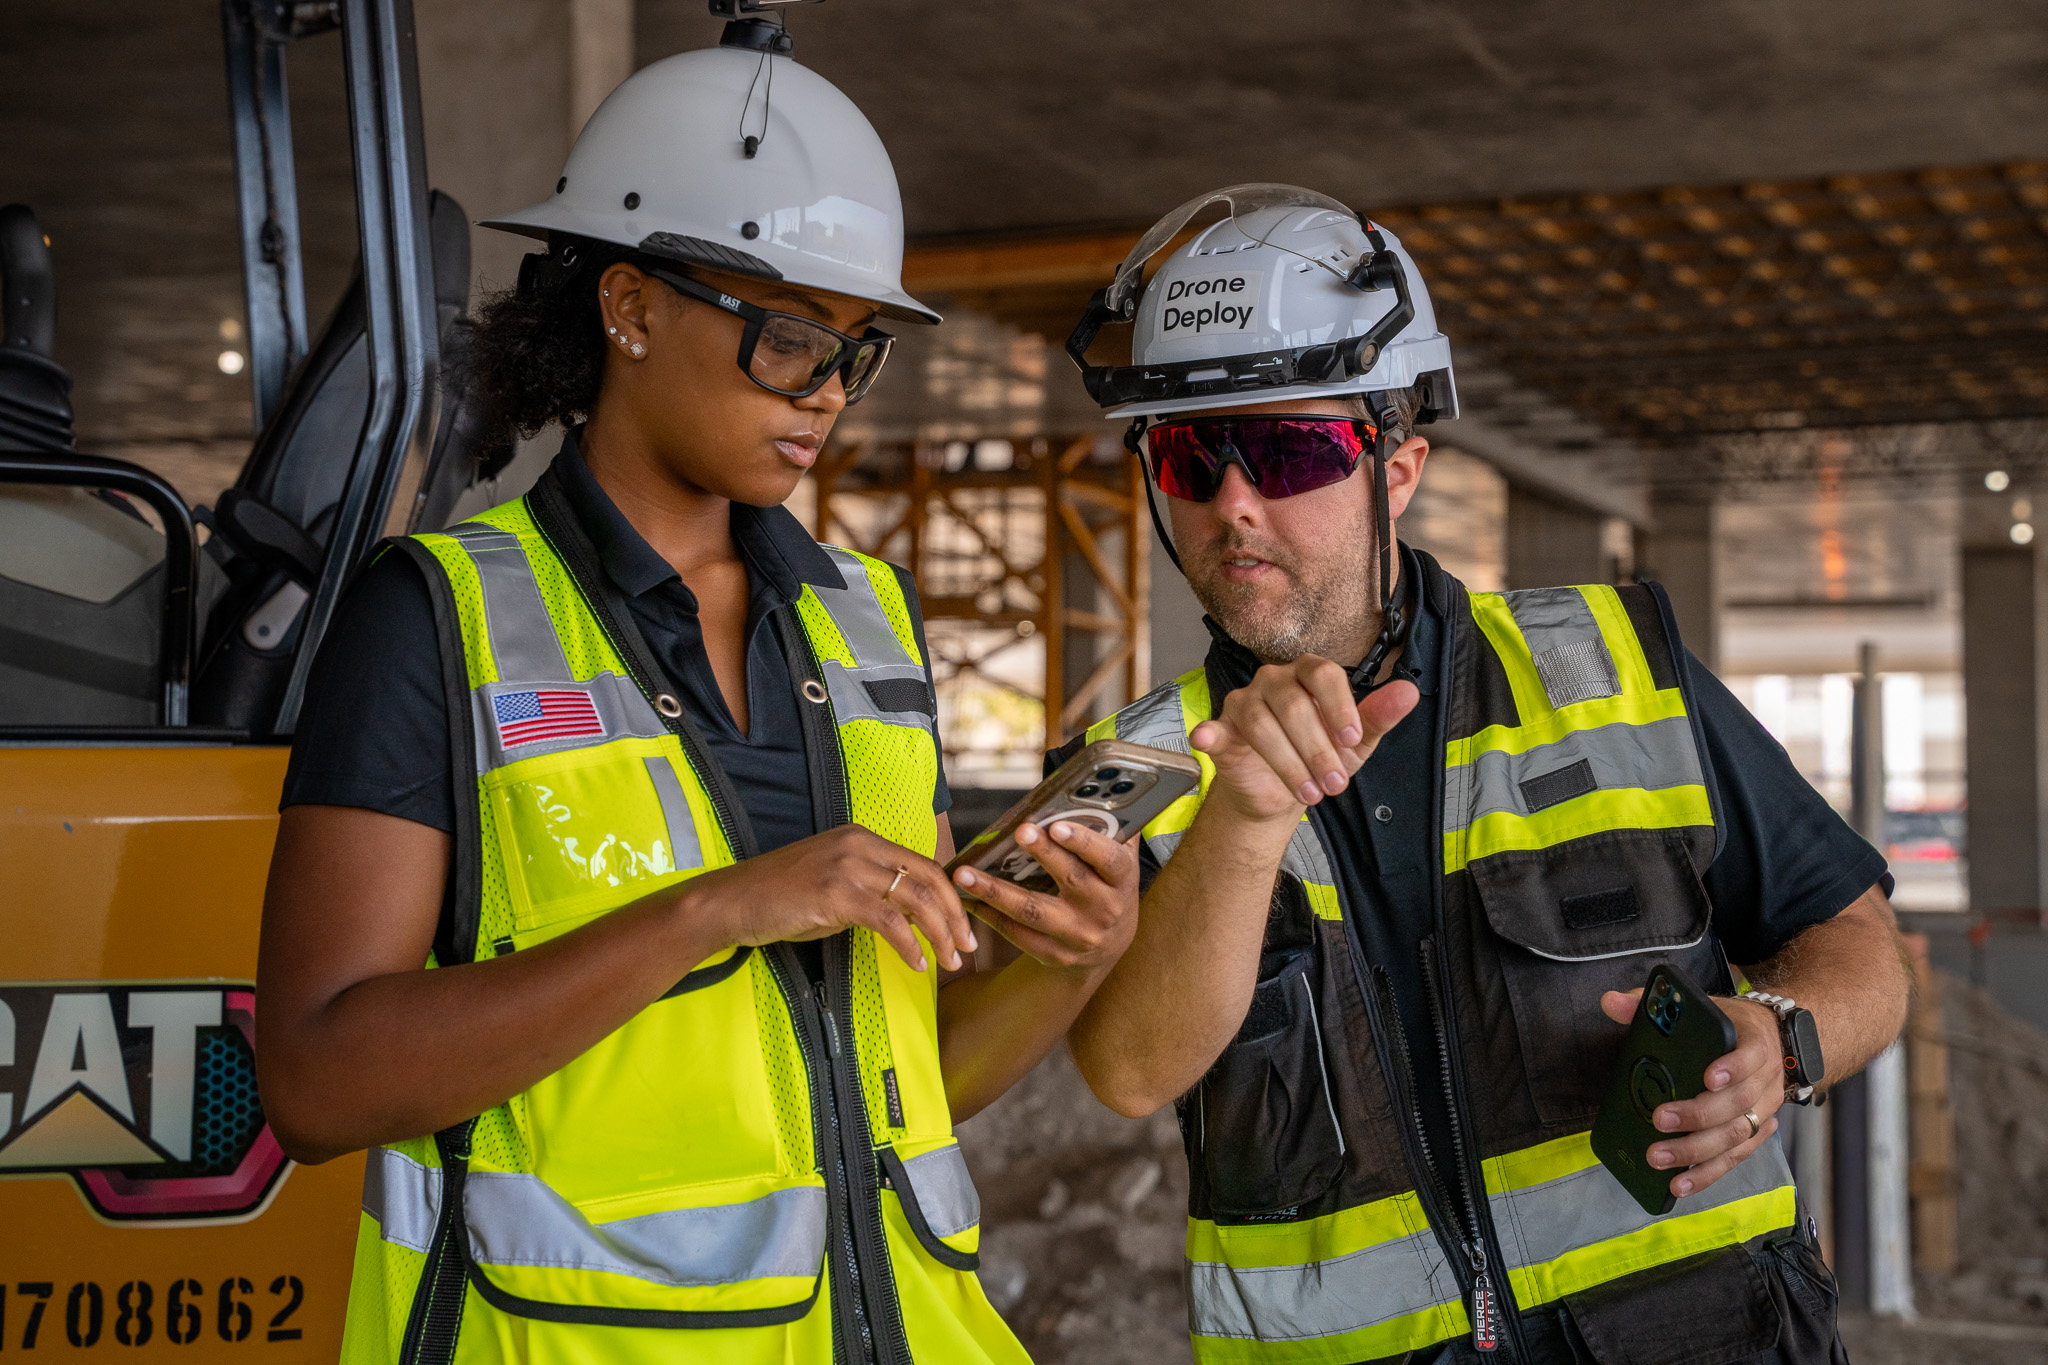
- Phone photos and mobile 3D scans cover detail and tight spaces. A trench, a panel schedule or a damaged piece of material gets shot on the phone already in someone's pocket.
"The superintendent doesn't have to take 200 pictures when they can grab the whole area in one walkthrough." – Christopher SanFillippo, Superintendent, Skanska
Teams without pilots or hardware can still get the aerial work done. Request a flight and a certified pilot shows up, with the processed map landing in the same account.
If the date and location are written into the image, and the image lands on the drawing by itself, there is no folder to rename. Anyone can find the photo by location instead of by memory.
Crews stick with the routine that takes the least time.
See how other teams are capturing on site:
The bottom line
Shoot the same areas from the same spots on a set schedule, and shoot anything about to be covered before it is covered. See how field teams capture and reference progress across projects with aerial and ground capture in one record.
.png)
FAQ
Shoot anything about to be covered or changed. Underground utilities before backfill, rebar and embeds before a pour, and in-wall and above-ceiling work before drywall and grid all get hard to verify afterward. Existing site conditions at mobilization matter too, since they are the baseline for later questions about what was already there.
Match the method to the area. Drones cover site-wide conditions, earthworks and roofs, 360 cameras cover interiors and corridors in one pass, and a phone handles detail shots and tight spaces. In every case the photo needs a date and a location on the drawing, so it can be found without knowing who took it.
Ready to learn more?
Contact sales to see how DroneDeploy can give your teams the power to document and analyze your sites from the air and ground – all in one AI-powered platform.